menu

Apple released it's desktop and server operating system in July 2011 called OSX Lion. With this new release came a new version 5 of the native email client, Mail.app, which was heavily influenced by it's little brother on the iPad.
Apple has never made it easy to include a complex HTML email signature, especially ones that include a remote image, such as your company logo or your big smiley mug shot.
Today, we're going to walk you through how to create a complex HTML email signature in Mail.app for OSX Lion.
Step 1
Decide what sort of information you want to display on your signature. For this demonstration, we'll use first/last name, email, telephone, company name and logo.
Step 2
Create your signature in your HTML editor of choice (or download the one that's available in the download link below and edit it with your plain text HTML editor). If applicable, upload your image to the web server (or Dropbox
here with Dropbox. For the more advanced users, basic inline CSS is ok to use, as long as it's not used to position items...tables only!
Step 3
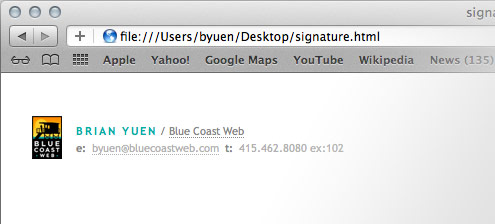
Once you have your email signature designed and laid out just as you like, save the file to your Desktop and call it "signature.html"
Step 4
Open Safari, drag your newly created "signature.html" file into the Safari window. You should now see your signature in Safari.
Step 5
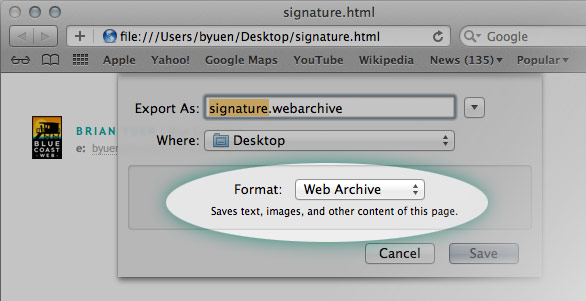
With Safari open and your signature visible, click on File in the top menu, and select "Save as…" Make sure that the "Web Archive" is selected in the format menu and save your signature as a .webarchive to your Desktop.
Step 6
Open a Finder window. In the menu bar on the very top of your screen, click "Go". With the "Go" menu displayed, click and hold the "option" key on your keyboard to toggle the visibility of "Library" in the menu. In the past, the Library directory was visible, but in OSX Lion, Apple thought hiding the "Library" was a good way to keep the inexperienced users from causing any chaos to your system. Go ahead and select the "Library" option which will open a new window.

Step 7
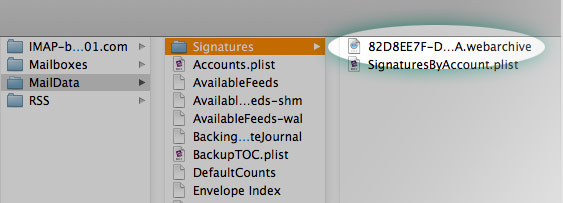
Drill down to "Library > Mail > V2 > MailData > Signatures". You should see a file with the extension .webarchive in here. If not, open up Mail.app, create a new blank signature and quit out of Mail.app. What this does is creates a temporary .webarchive file which we will soon replace with our fancy HTML version.
Step 8
Take note of the .webarchive filename. Better yet, copy the name of the file. In my case, the .webarchive was named "89F114E2-C22D-40B7-B232-83A26A664DD9.webarchive"
Step 9
Find the "signature.webarchive" file that we made earlier on your Desktop. Rename the "signature.webarchive" file the same as the .webarchive file in Step 8 (eg., signature.webarchive is now 89F114E2-C22D-40B7-B232-83A26A664DD9.webarchive on the Desktop)
Step 10
Take the newly renamed filed on your Desktop, and drag it into the "Library > Mail > V2 > MailData > Signatures" folder, replacing the one that is currently there.
Step 11
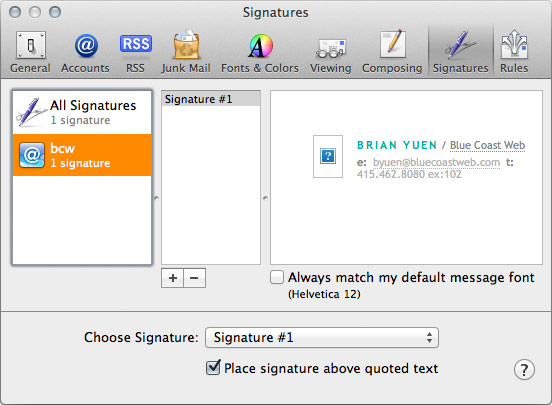
Now open Mail.app and go into the preferences Mail > Preferences > Signatures. You should see something very similar to this screenshot. Don't worry too much about the broken image that's displayed, it will show up normally when you create a new email message.
Happy emailing!
Download the HTML email signature template here.


